

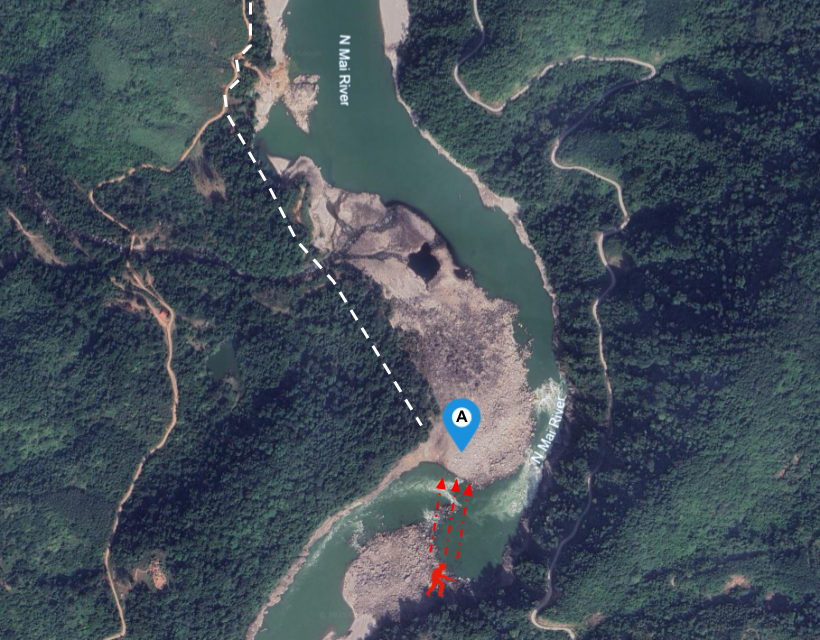
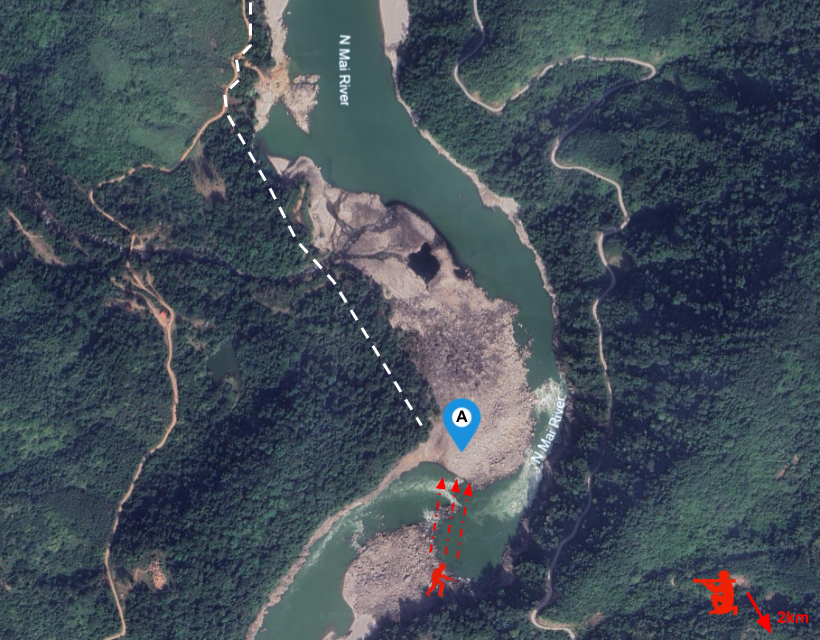
Explore the options below with your team. Select a tab to review each possible response to the final extraction threat.
- Option 1
- Option 2
- Option 3
- Option 4
- Option 5
- Option 6
Option 1: Counter-Attack
Launch a counter-attack to suppress the enemy fire and protect RAPTOR’s final approach. With superior numbers and firepower, the team may be able to neutralize the immediate threat. However, this risks turning the extraction into a direct firefight and could delay the escape at the moment when speed matters most.
Option 2: Cover Your Approach with Smoke
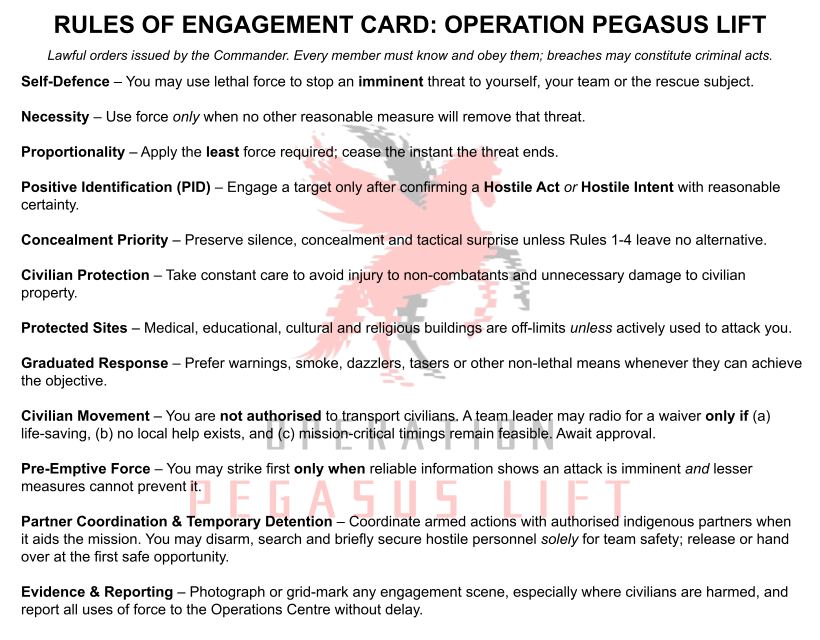
* Only available if you selected Non-Lethal Equipment in CJ1.
Move close enough to deploy smoke grenades, masking the team’s final movement to the V-22. This may reduce exposure without escalating to lethal force, but it requires the team to close distance under pressure and assumes the smoke will create enough concealment before the enemy adjusts.
Option 3: Call for Close Air Support
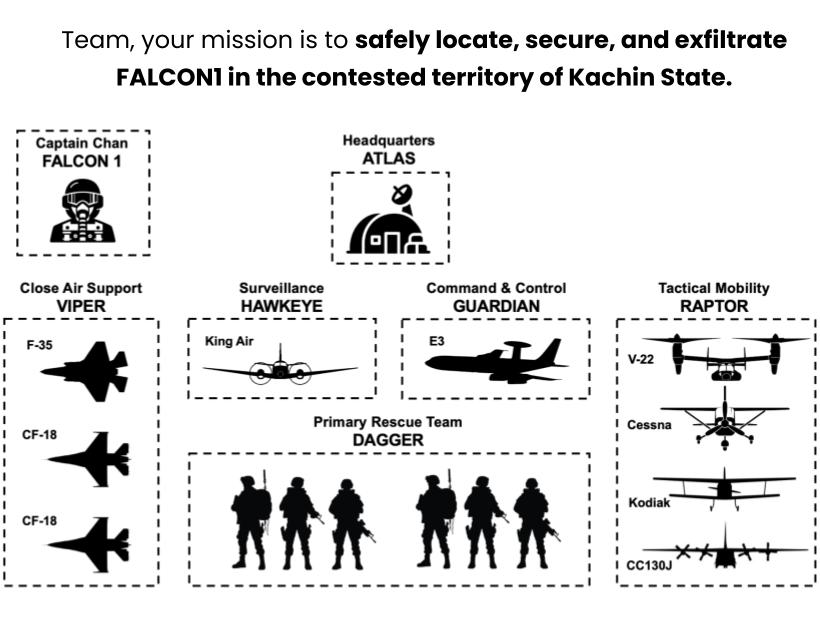
Request a precision strike from VIPER to clear the hostile fire threatening RAPTOR. This offers a fast and decisive way to reduce the threat near the extraction zone, but it carries serious escalation, collateral, and fratricide risks if the strike lands too close to the team, the aircraft, or civilians in the area.
Option 4: Maneuver to an Emergency Extraction Point
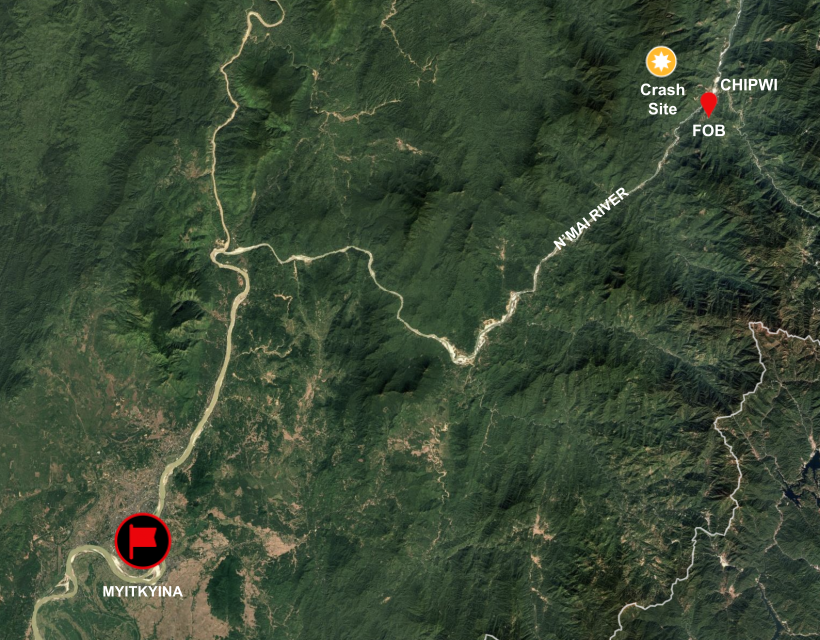
Shift to a nearby emergency extraction point and have RAPTOR adjust its landing approach. This avoids the hottest area and preserves the possibility of extraction, but it requires rapid movement under threat while carrying FALCON1 and maintaining coordination with the aircraft in a compressed window.
Option 5: Call Off Extraction
Abort the pickup, break contact, and return to concealment. This may preserve the team and FALCON1 if the extraction zone becomes untenable, but it extends exposure in hostile territory and leaves the team with no immediate path out. The longer the team remains on the ground, the more likely enemy forces can converge.
Option 6: Make a Run for It
Sprint from cover to the V-22 and attempt to board under fire. This is the fastest path to extraction if the team can survive the exposed movement, but it is also the least controlled. The team, FALCON1, and RAPTOR all remain vulnerable during the final dash.
After reviewing the options above, your team must choose the best approach to complete the escape. Your team must wait until there are 2 mins or less remaining before selecting its decision.
Option 1: Counter-Attack
Turn the tables with overwhelming force.
Click to Select Option 1
Option 2: Cover Your Approach with Smoke
* Requires Non-Lethal Equipment in CJ1.
Create concealment and move under cover.
Click to Select Option 2
Option 3: Call for Close Air Support
Request a precision strike to clear the extraction zone.
Click to Select Option 3
Option 4: Maneuver to an Emergency Extraction Point
Shift location and meet RAPTOR at a safer pickup point.
Click to Select Option 4
Option 5: Call Off Extraction
Abort the pickup and regroup in hiding.
Click to Select Option 5
Option 6: Make a Run for It
Dash for the V-22 and escape under fire.
Click to Select Option 6

Options
Explore the options below with your team.
- Option 1
- Option 2
- Option 3
- Option 4
- Option 5
- Option 6
Counter-Attack
Why not meet fire with fire? Launch a daring counter-attack to silence the enemy’s guns. With superior numbers and firepower, you might just turn the tide. But remember, courage under fire is admirable, yet the risk of turning your escape plan into a firefight looms large.
Cover Your Approach with Smoke
* Only available if you selected Non-Lethal Equipment in CJ1
Sometimes the best visibility is invisibility. Move close enough to throw smoke grenades, creating a shroud for your dash to the V-22. It’s like stepping into a magician's smoke; you're there, and then you're not. Just hope the enemy doesn't guess your next trick.
Call for Close Air Support
When in doubt, bring on the rain. Call down a precision strike from VIPER to cleanse the area of hostiles. It’s a spectacular way to clear your path, as long as the bombs stay far from your own backyard.
Maneuver to an Emergency Extraction Point
If the mountain won't come to Muhammad, Muhammad must go to the mountain. Or in this case, if the Extraction Point is too hot, maybe it's time to find a cooler one? Just a brisk 200-meter dash to a new Extraction Point while callsign RAPTOR pivots to meet you there; for both of you, it would surely feel like a marathon.
Call Off Extraction
Sometimes, the boldest move is to not move at all. Call off the extraction and melt back into the shadows. Regroup, rethink, and live to fight another day. But how long can you play cat and mouse before the cat catches up?
Make a Run for It
Fortune favors the bold - or so they say. Test that theory by sprinting 100 meters from the cover of the forest to the V-22 Osprey, dodging bullets like you're in a movie. Low odds, high stakes, but if you make it, what a story you'll have!
Decision
After carefully assessing all of the options above, as a team choose the best approach to complete your escape. Your team must wait until there are 2 mins or less remaining before selecting its decision.
Option 1: Counter-Attack
Turn the tables with overwhelming force.
Select Option 1
Option 2: Cover Your Approach with Smoke
* Requires Non-Lethal Equipment in CJ1
Create a diversion and move under cover.
Select Option 2
Option 3: Call for Close Air Support
Request a precision strike to clear the LZ.
Select Option 3
Option 4: Maneuver to an Emergency Extraction Point
Shift location and meet RAPTOR at a safer LZ.
Select Option 4
Option 5: Call Off Extraction
Abort the pickup and regroup in hiding.
Select Option 5
Option 6: Make a Run for It
Dash for the V-22 and escape under fire.
Select Option 6