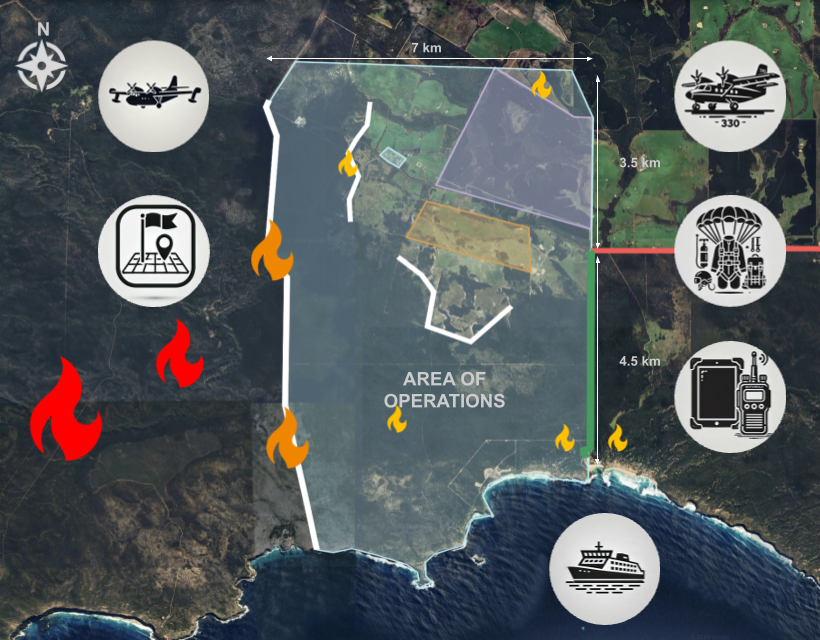
The steady hum of the
Shorts 330 Sherpa
fills the cabin as you brace for deployment. Outside, dawn struggles to pierce the dense smoke choking Kangaroo Island. At 1,500 feet, visibility is down to 30 meters near the Western Firefront and only slightly better to the south. Gusting northwest winds at 60–70 km/h whip
embers
into unburned terrain, spreading spot fires unpredictably across the island.
Below, the situation is spiraling out of control:
- Hanson Bay Beach Evacuation Route: Spot fires are closing in from multiple directions, fueled by gusting winds and dry vegetation. Civilians attempting to flee are now at risk of being cut off.
- Hanson Bay Wildlife Sanctuary: Embers have breached the northern perimeter, sparking spot fires that threaten critical habitats and endangered species.
- Western Firefront: Advancing aggressively, driven by erratic winds and volatile
eucalyptus forests.
The fire is breaching the firebreak line and pushing east toward the central zone.
- Southern Firefront: Moving steadily, creeping southward toward the firebreak line with shifting winds increasing the risk of rapid escalation.
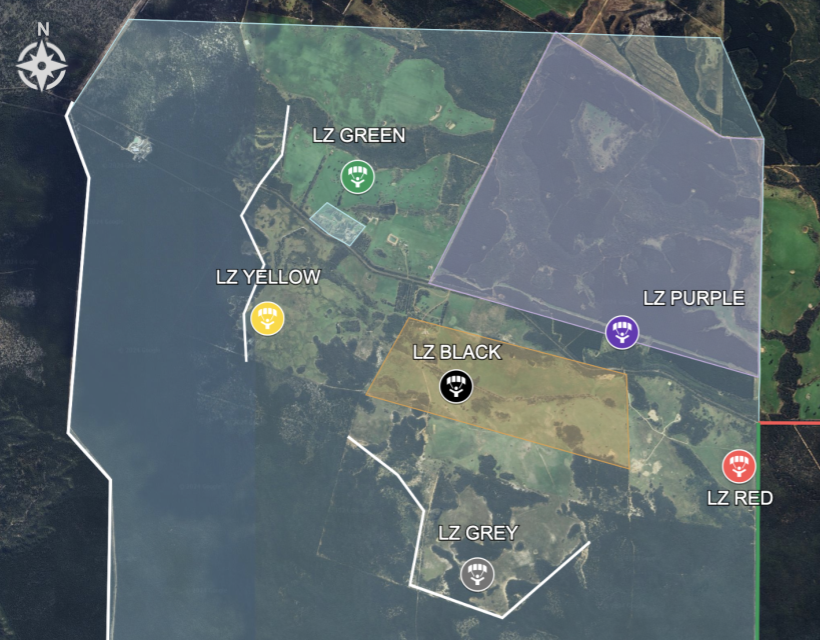
Lieutenant James Harper’s voice cuts through your headset, steady and urgent:
“Alright, team. This fire’s a monster, and it’s moving faster than we predicted. We’ve identified six potential
landing zones,
each one comes with trade-offs. You’ve got 15 minutes until we hit the drop zone—make it count.”